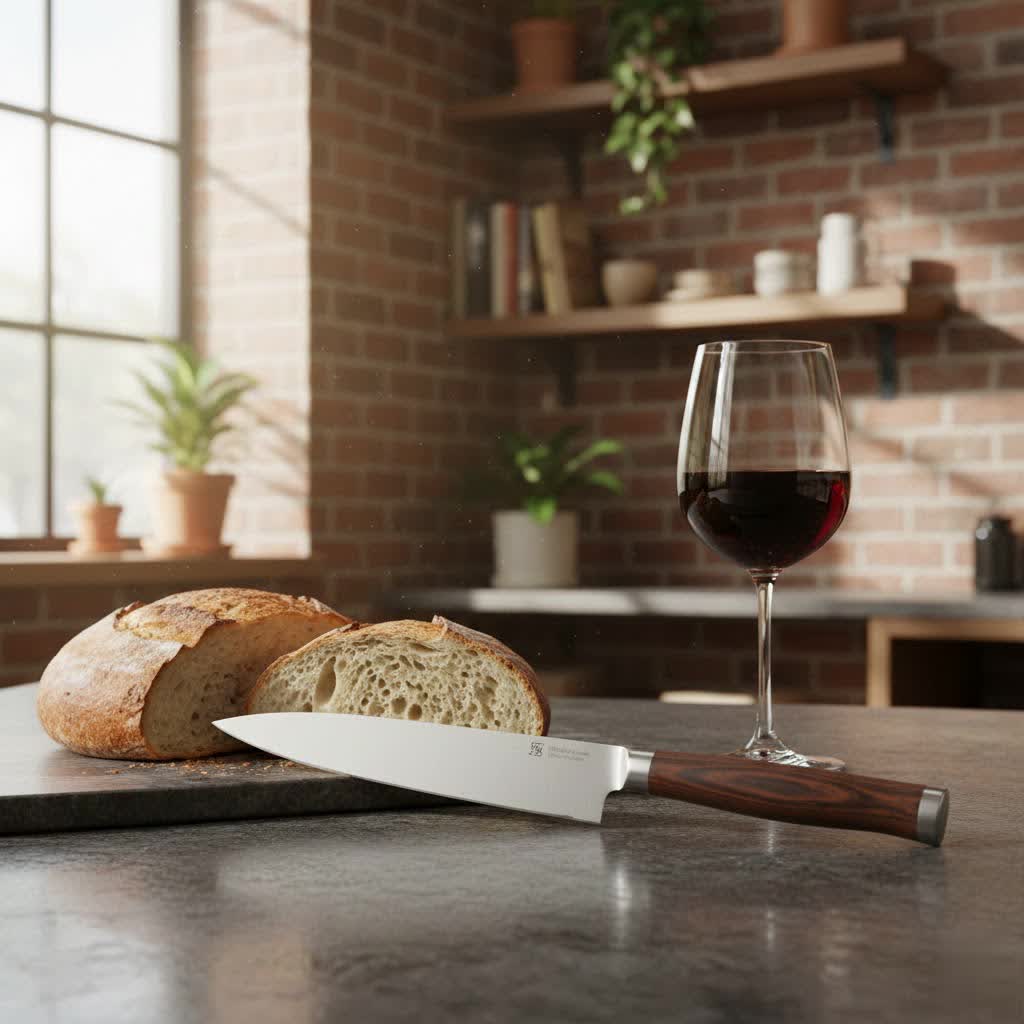
Every great chef knows that a sharp knife is more than just a tool; it’s an extension of their hand, enabling precision, efficiency, and safety in the kitchen. Neglecting your blades means struggling through cuts, risking injury, and ultimately, diminishing the joy of cooking. This comprehensive guide to chef knife sharpening will transform your dull blades into culinary powerhouses, giving you the confidence to tackle any ingredient with ease.
Sharpening Versus Honing: Clearing the Culinary Confusion
Before diving into techniques, let’s clear up a common misconception that even seasoned home cooks often get wrong. Many people use the terms “sharpening” and “honing” interchangeably, but they refer to two distinct processes crucial for knife care.
What is Sharpening?
|
Our Picks for the Best Knife Set in 2026
As an Amazon Associate I earn from qualifying purchases.
|
||
| Num | Product | Action |
|---|---|---|
| 1 | HENCKELS Statement Premium Quality 15-Piece Set with Block, Natural, Razor-Sharp, German Engineered Informed by 100+ Years of Mastery, Lightweight and Strong, Dishwasher Safe |

|
| 2 | Knife Set, Brewin Kitchen Knife Set, Knives Set for Kitchen, Universal Knife Block, Utility Knife Block Set, New Home Essentials, Apartment Essentials, Dishwasher Safe |
|
| 3 | Amazon Basics 14-Piece High Carbon Stainless Steel Kitchen Knife Set with Full Tang Construction, Ergonomic Handles, Sharpener and Pinewood Block, Black |
|
| 4 | Astercook Knife Set, 13 Pieces Kitchen Knives Set with Healthy Anti-Rust Coating, Dishwasher Safe, Stainless Steel Chef Knife Sets with 6 Blade Guards, Perfect Holiday Gifts for Kitchen |
|
| 5 | Astercook 15 Piece Knife Set with Sharpener Block - German Stainless Steel, Dishwasher Safe Kitchen Knives with Built-In Sharpener, Black |
|
| 6 | CAROTE 14 Pieces Knife Set with Block, Forged, High Carbon Stainless Steel Sharp Blade Block Knife Set, Dishwasher Safe Cutlery, Cream |
|
| 7 | Laguiole Steak Knives Set of 6 - Premium Food-Grade Stainless Steel Micro-Tooth Serrated Knives for Precision Cutting - Dishwasher Safe Kitchen Utensils Set for Dinner or Gifting by Classic Cuisine |
|
| 8 | WXCOO Hand Forged 3-Piece Knife Set High Carbon SteelKitchen Knives Meat Boning Cleaver Cheese Knife Professional Butcher Hunting Fish Fruit Viking Knife with Sheath for Hiking, Camping, Fishing, BBQ |
|
| 9 | HOSHANHO 16-Piece Knife Set, Japanese High Carbon Stainless Steel Kitchen Knife Set, Ultra Sharp Chef Knife Block Set with Sharpener |
|
| 10 | Knife Sets for Kitchen with Block imarku G14 Japanese Knife Set Stainless Steel Kitchen 14pcs, Built-in Sharpener, Sharp Knives with Non-slip Ergonomic Handle - Dishwasher Safe, Home Essential Gifts |
|
Sharpening is the process of grinding away a small amount of metal from the blade’s edge to create a new, keen cutting surface. Think of it like a pencil: when the tip gets dull, you sharpen it by removing wood and graphite to reveal a new point. Similarly, when a knife blade becomes truly dull—meaning its microscopic edge has rolled over, chipped, or worn down—sharpening is necessary to restore its “V” shape. This process actually removes steel, bringing a tired blade back to life.
What is Honing?
Honing, on the other hand, doesn’t remove metal. Instead, it realigns the microscopic edge of a blade that has simply bent or rolled over through regular use. Imagine the edge of your knife as a row of tiny, sharp teeth. Over time, these teeth can get pushed out of alignment. A honing steel gently pushes them back into place, restoring the blade’s cutting ability without grinding away material. “A honing steel is an essential daily tool,” says Chef Antoine Dubois, a culinary instructor and long-time kitchen veteran. “It ‘wakes up’ the blade, making it perform optimally between sharpening sessions.”
Both sharpening and honing are crucial for maintaining your chef knives. Honing keeps an already sharp knife performing at its peak, while sharpening is what you do when the knife is truly dull and honing no longer brings it back. You should ideally hone your knife before each use, or at least weekly, while sharpening is typically needed every two to three months for a home cook.
Popular Methods for Sharpening Your Chef Knife
When it comes to putting a razor-sharp edge on your chef knife, you have several effective methods at your disposal. Each has its own benefits and learning curve.
Whetstones (Sharpening Stones)
Whetstones are perhaps the most traditional and versatile method for knife sharpening, offering unparalleled control and the ability to achieve the sharpest possible edge.
- Pros: Exceptional precision, customizable angles, ideal for high-end knives, produces a superior edge.
- Cons: Requires significant practice and skill to master, more time-consuming, requires regular maintenance (flattening).
Whetstones come in various grit levels, indicating the coarseness of the abrasive material. You’ll typically use a progression of grits:
- Coarse (around 400-1000 grit): For very dull or chipped knives, to quickly remove material and establish a new edge.
- Medium (around 1000-3000 grit): For general sharpening, refining the edge after coarse grinding.
- Fine (3000-8000+ grit): For polishing the edge to a razor-sharp finish.
Most home cooks will find a dual-sided stone with 1000/6000 grit to be an excellent starting point. Water stones require soaking in water before and during use to create a slurry, which aids in the sharpening process.
Honing Rods (Steels)
As discussed, honing rods (often called honing steels, though some are ceramic or diamond-coated) are for maintenance, not true sharpening. They realign the blade’s edge.
- Pros: Quick, easy daily maintenance, extends time between sharpening, improves cutting performance instantly.
- Cons: Does not remove metal, cannot fix a truly dull or damaged blade.
Honing rods are typically made from steel, ceramic, or have a diamond coating. Steel rods are good for most everyday realignment. Ceramic rods offer a slightly more abrasive hone, while diamond-coated rods can actually remove a tiny bit of metal, making them useful for slightly more aggressive honing or even very light sharpening.
Electric Knife Sharpeners
Electric sharpeners offer a convenient and fast way to sharpen your knives, making them a popular choice for busy home kitchens.
- Pros: Fast, easy to use, minimal technique required, good for quick results.
- Cons: Can remove more metal than manual methods, potentially shortening knife life; often have fixed angles which may not be ideal for all knife types; can be noisy and bulky.
These machines feature motor-driven abrasive wheels or belts that grind the blade. Many have guides that set the sharpening angle for you, which is great for consistency but limits customization. High-quality electric sharpeners often have multiple stages for coarse grinding and fine polishing.
Manual Pull-Through Sharpeners
These simple, handheld devices feature abrasive wheels or ceramic rods set at a fixed angle, allowing you to pull the knife through a slot.
- Pros: Inexpensive, very easy to use, compact.
- Cons: Often aggressive, can remove too much metal, may create a sub-optimal edge profile, not suitable for high-end knives.
While convenient for basic utility knives, many chefs and knife enthusiasts advise caution with pull-through sharpeners, especially for expensive or specialized chef knives, as they can wear down blades quickly and unevenly.
Guided Sharpening Systems
Guided systems combine the control of a whetstone with the angle consistency of a machine. They typically hold the knife securely while an abrasive element moves along a pre-set angle.
- Pros: Highly precise, consistent angles, excellent for beginners learning proper angle control, less material removal than electric sharpeners.
- Cons: Can be expensive, some learning curve for setup, may be limited by knife size or shape.
These systems are a great middle ground for those who want excellent results without the freehand skill required for whetstones.
Finding Your Angle: The Key to a Perfect Edge
The sharpening angle is arguably the most critical factor in achieving a sharp, durable edge. This is the angle at which the blade meets the sharpening surface.
Why Angle Matters
A consistent angle ensures that you are grinding a uniform bevel (the sloped surface that forms the cutting edge) along the entire length of the blade. Too shallow an angle and the edge will be hair-splittingly sharp but fragile; too steep, and it will be durable but lack keenness.
Common Sharpening Angles
- 15 Degrees per side (30-degree inclusive angle): This angle is typically recommended for thinner, harder Japanese-style knives (like a santoku or gyuto). It produces an extremely sharp edge, ideal for precise slicing, but it’s more delicate and prone to dulling if abused.
- 20 Degrees per side (40-degree inclusive angle): This is the standard for most Western-style chef knives (like German or American-made blades). It creates a more robust, durable edge that holds up well to a wider range of kitchen tasks, including chopping and heavier use.
“Understanding the right angle for your knife’s specific design and steel type is paramount,” explains Master Bladesmith Kaito Ishikawa. “A Japanese blade, with its often harder steel, benefits from a shallower angle, while a softer, more forgiving Western steel can handle a slightly wider angle for durability.”
For all ProCook knives, a 20-degree angle is recommended for a sharp and durable edge. Visualize the angle—if 90 degrees is straight up, halve it to 45, then halve it again to roughly 22. From there, you can make minor adjustments to hit 15 or 20 degrees. Consistency is key, so practice holding that angle before applying pressure.
Step-by-Step Guide: Sharpening with a Whetstone (The Traditional Method)
Mastering the whetstone might seem daunting, but with practice, it’s incredibly rewarding. Here’s a simplified guide using a dual-grit stone:
-
Preparation is Key:
- If you have a water stone, soak it in lukewarm water until no more bubbles appear (typically 5-10 minutes). Keep it wet throughout the process.
- Place the wet stone on a non-slip surface, like a damp towel on a cutting board, coarse grit side up.
-
Establish Your Angle (Coarse Grit):
- Hold the knife handle firmly with your dominant hand. Place the heel (part closest to the handle) of the blade on the far end of the coarse side of the whetstone, with the knife’s edge facing away from you.
- Using your non-dominant hand, gently place your fingertips on the blade near the edge to apply light, even pressure.
- Set your angle (15 or 20 degrees). A common trick is to start at a 90-degree angle to the stone, halve it to 45, then halve it again. This should get you close to 20-22 degrees.
- Keeping that angle consistent, push the knife across the stone, moving from the heel to the tip of the blade in one smooth motion. It’s like trying to shave a thin layer off the stone.
-
Create a Burr:
- Repeat the push stroke approximately 10-15 times on one side, then flip the knife over and repeat on the other side.
- Your goal is to create a “burr”—a tiny, wire-like curl of metal that forms along the opposite side of the edge you’re sharpening. You can feel this burr by lightly running your fingertip away from the edge (never along it!) on the side you’re not currently grinding.
- Once you feel a consistent burr along the entire length of one side, switch to the other side and repeat the process until the burr forms there.
-
Refine the Edge (Fine Grit):
- Flip your whetstone to the finer grit side (e.g., 6000 grit). Add more water to keep it wet.
- Repeat the same sharpening strokes, maintaining your angle. The goal now is to refine the edge and remove the burr.
- Use lighter pressure and fewer strokes (5-10 per side), alternating sides with each stroke or after a few strokes.
- The burr should become smaller and eventually disappear, leaving a finely polished, keen edge.
-
Check for Sharpness:
- Carefully rinse your knife and wipe it dry.
- Paper Test: A truly sharp knife should effortlessly slice through a piece of paper held upright, without tearing or catching.
- Tomato Test: It should slice through a ripe tomato skin with minimal pressure, not crush it.
- Hair Test (Advanced): An extremely sharp knife can shave hair off your arm. Be extremely careful if attempting this.
-
Finish with Honing (Optional but Recommended):
- Give your newly sharpened knife a few gentle passes on your honing steel (3-5 per side) to realign any microscopic imperfections and further polish the edge.
How Often Should You Sharpen Your Chef Knife?
The frequency of sharpening depends heavily on how often you use your knife and the type of knife you have.
- Home Cooks: For average home use, sharpening your chef knife every 2 to 3 months is a good general guideline. However, you should be honing it much more frequently—before each use or at least once a week.
- Professional Chefs: With daily, intensive use, professional chefs might sharpen their main knives as often as every 10 days or rotate through several knives to extend the time between sharpening. Many also opt for professional sharpening services a few times a year.
- Listen to Your Knife: The best indicator is performance. If your knife struggles to slice through soft tomatoes, slides off onion skins, or requires excessive force, it’s time for a sharpening.
Essential Chef Knife Sharpening Safety Tips
Working with sharp knives, especially during the sharpening process, requires utmost caution.
- Always be mindful of the blade’s edge. Even a dull knife can cause serious injury.
- Maintain a firm, stable grip. Never let your hand slip.
- Keep your fingers away from the path of the blade. During sharpening, your non-dominant hand should only apply pressure to the spine or flat of the blade, not near the edge.
- Use a stable surface. Ensure your sharpening stone or electric sharpener is securely placed and won’t slip.
- Work slowly and deliberately. Rushing increases the risk of accidents.
- Wipe your knife clean carefully. Use a damp cloth and wipe away from the edge.
Troubleshooting Common Sharpening Mistakes
Even experienced sharpeners can make mistakes. Here are a few common pitfalls and how to avoid them:
- Inconsistent Angle: The most common mistake. Invest in an angle guide if using a whetstone, or practice extensively until you develop muscle memory. Inconsistent angles lead to an uneven, less effective edge.
- Not Creating a Burr: The burr is your signal that you’ve adequately ground one side of the edge. Without a burr, you haven’t removed enough metal to truly reset the edge.
- Over-sharpening (Too Much Pressure): Applying excessive pressure, especially on finer grits, can damage the edge or create an overly thin, fragile bevel. Let the abrasive do the work with moderate, consistent pressure.
- Failing to Flatten Whetstones: Over time, whetstones can develop hollows, making it impossible to sharpen evenly. Regularly flatten your stones with a lapping plate or flattening stone.
- Using a Honing Rod When a Knife Needs Sharpening: A honing rod can’t fix a truly dull knife. Trying to do so will be frustrating and ineffective. Recognize when your knife truly needs a sharpening.
Expert Insight: What the Pros Say
“The journey to a perfectly sharp knife is a personal one, filled with practice and patience,” shares Chef Antoine Dubois. “But once you experience the effortless glide of a truly keen edge, there’s no going back. It elevates your cooking and makes every task safer and more enjoyable.”
Master Bladesmith Kaito Ishikawa emphasizes the importance of understanding the materials. “The steel of a knife dictates its sharpening needs. A high-carbon steel might hold an edge longer but require a specific approach, while a softer stainless steel may need more frequent touch-ups. Learn your blade, and it will serve you faithfully.”
Frequently Asked Questions
What’s the best sharpening tool for beginners?
For beginners, a high-quality electric knife sharpener or a guided sharpening system often provides the easiest entry point due to their built-in angle guides, which simplify the process and ensure consistent results without needing to master freehand technique.
Can I sharpen serrated knives with these methods?
Sharpening serrated knives is more challenging. While some electric and manual sharpeners claim to handle them, the most effective method typically involves using a specialized ceramic or diamond rod that fits into each serration, sharpening one side at a time. It requires a delicate touch.
How do I know if my knife is sharp enough?
A sharp knife should slice effortlessly through delicate items like ripe tomatoes without tearing the skin, or cleanly slice a piece of paper held upright. If it struggles, catches, or pushes the food, it’s not sharp enough.
How long does it take to sharpen a knife?
Using a honing rod takes mere seconds. A pull-through sharpener might take 1-3 minutes. Electric sharpeners usually take 5-7 minutes. Sharpening with a whetstone, especially if the knife is very dull, can take 10-30 minutes, depending on your skill level and the condition of the blade.
Do I need different stones for different knives?
Generally, a good quality dual-grit whetstone (e.g., 1000/6000) is sufficient for most chef knives. However, if you have very specialized knives with extremely hard steels or unique bevels (like single-bevel Japanese knives), you might consider additional stones with different grit progressions or specific materials.
Conclusion
A sharp chef knife is the cornerstone of any efficient and enjoyable kitchen. By understanding the distinction between sharpening and honing, exploring the various tools available, and committing to regular maintenance, you can ensure your blades are always ready for action. Whether you choose the traditional artistry of a whetstone or the modern convenience of an electric sharpener, investing time in chef knife sharpening will not only extend the life of your knives but will also elevate your culinary experience, making every cut a pleasure.